How to Compile a Project from the Windows Terminal
1. Download Visual Studio Build Tools
To begin compiling your project, you need to install the Visual Studio Build Tools. Depending on your project needs, download the appropriate version for your system.
- Go to the official Visual Studio downloads page and click to download the Build Tools for Visual Studio.
2. Install Required Components
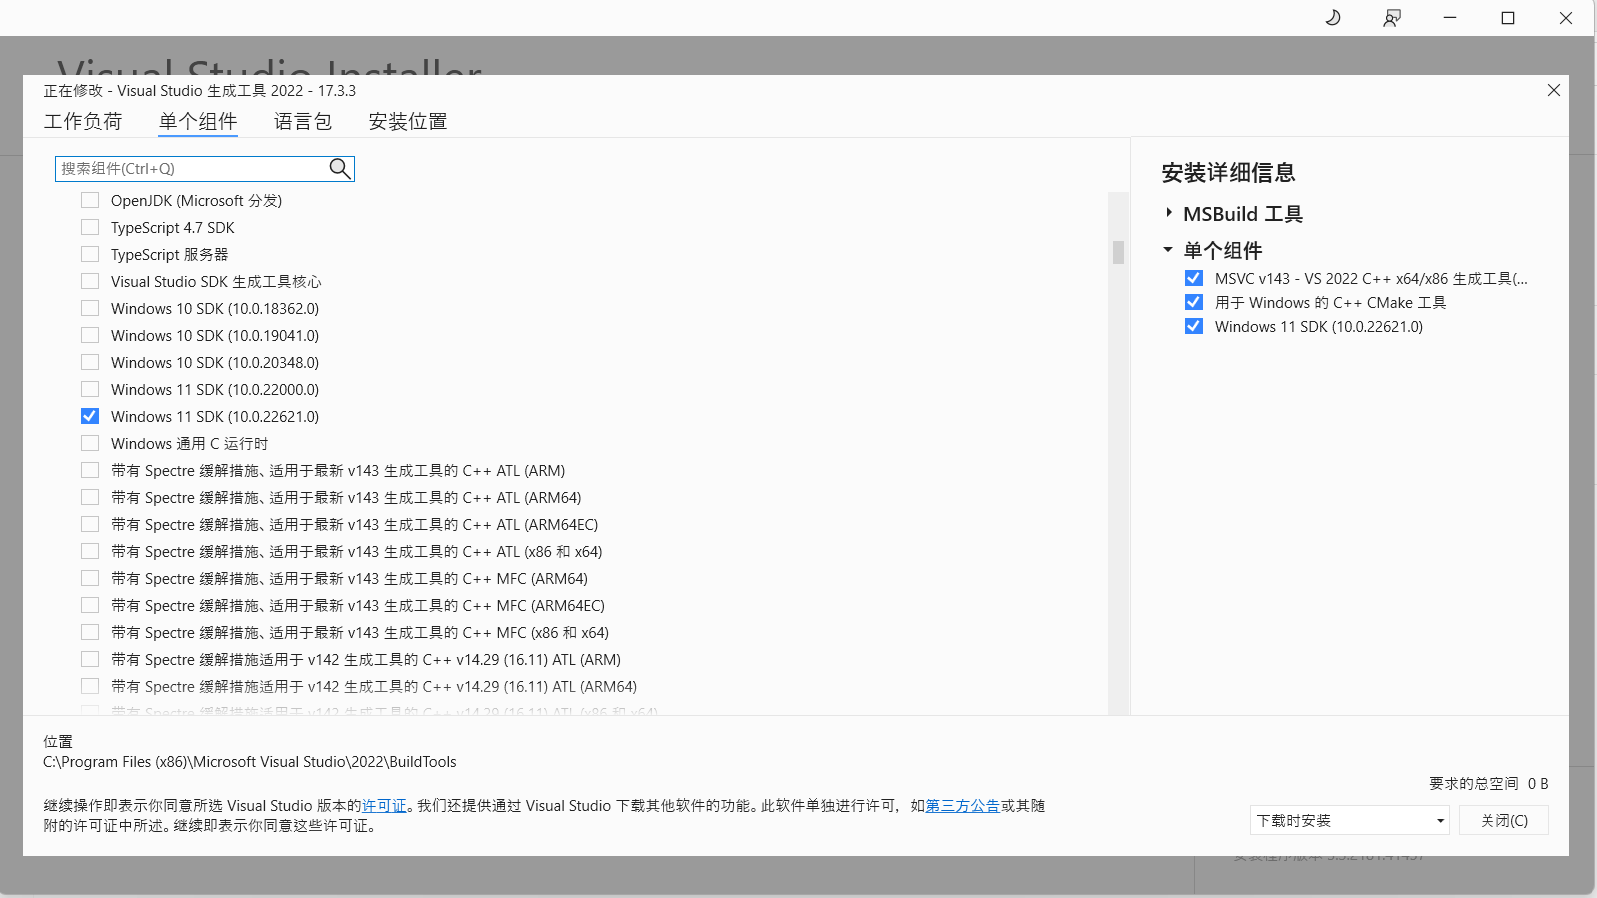
Once the installer is downloaded, you’ll need to select the appropriate components for your project. These typically include:
- MSVC v143 - Visual Studio 2022 C++ x64/x86: Required for compiling C++ code.
- Windows 11 SDK: Essential if you’re targeting Windows 11.
- CMake (Optional): Useful if your project uses CMake for building.
Here’s an example of what the installation screen might look like:
 {:class=”img-responsive”}
3. Open the Developer PowerShell for VS 2022
After installation is complete, you’ll need to open the Developer PowerShell for VS 2022 to use the necessary build tools.
- Press the Windows key, and search for “Developer PowerShell for VS 2022”.
- Click to open the terminal.
This terminal is pre-configured with all the environment variables needed for compiling with Visual Studio.
4. (Optional) Generate .sln Project Using CMake
If your project uses CMake, you’ll need to generate the .sln (Visual Studio Solution) file before compiling.
- To generate the solution, navigate to the directory containing your
CMakeLists.txtfile in the terminal and run the following command:
cmake .
For more details on using CMake, refer to the CMake Documentation.
5. Compile the .sln Project
With your solution file (.sln) ready, you can now compile the project.
- To compile the project in Release mode, run:
MSBuild MyApp.sln -p:Configuration=Release
- For a Debug build, simply run:
MSBuild MyApp.sln
6. Final Step: Run the Executable
Once the compilation process completes, you’ll find the executable file (e.g., MyApp.exe) in the output directory. This is the file you can run directly on your Windows system.